How To Add Post In Gutenberg Editor In WordPress
Posted by TotalDC
Let’s continue our WordPress series and talk about how to add posts in WordPress.
What Is Gutenberg Editor In WordPress
Gutenberg is a brand new editor for the WordPress platform. It has radically changed the way you create posts and pages and just about everything else on your site. Gutenberg arrived as part of WordPress 5.0, which was released in November of 2018. The block editor is designed to be intuitive and flexible. While it looks different than the old WordPress editor, it does all the things that you would be able to do in the classic editor but more easily and faster than before.
How To Add New Post In Gutenberg Editor In WordPress
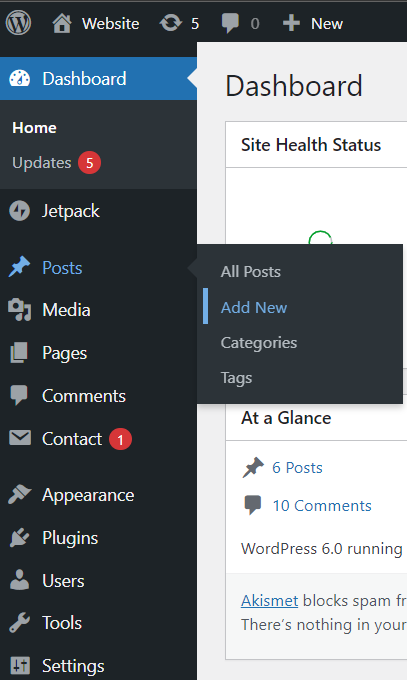
Step 1 – hover over the Posts tab in your WordPress dashboard and click Add New.
Worth noticing that now in the new Gutenberg editor, everything is a block. For example, first block of every post you will ever create is the title.
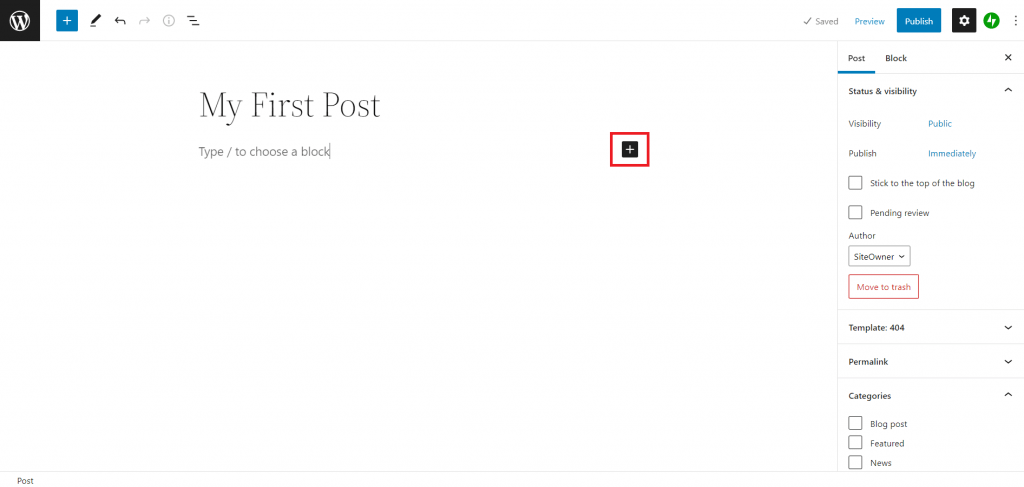
Step 2 – Add your post title. For example “My First Post”.

Step 3 – add a new block.
By default, the next block is a paragraph block. This allows users to start writing immediately.
But if you want to add something different, then you can click on the add new block button on the top left corner of the editor, below an existing block, or on the right side of a block.
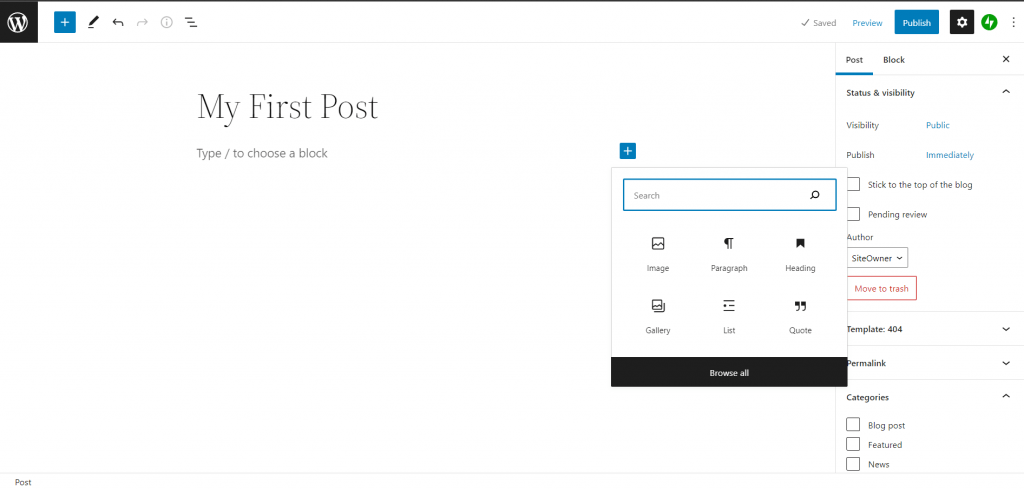
When you click on the button you will see the add block menu with a search bar on top and commonly used blocks below.
You can click on tabs to browse block categories or type in a keyword to quickly search for a block.
If you don’t want to use a mouse to click on the button, then you can use a keyboard shortcut by typing / to search and add a block.

How To Work With Blocks In Gutenberg Editor In WordPress
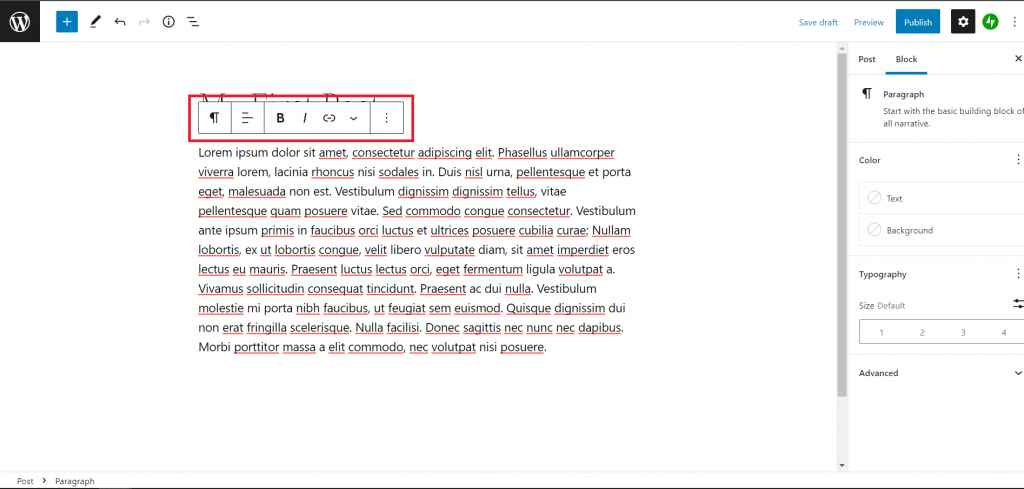
Perhaps you noticed that each block comes with its toolbar which appears on top of the block. The buttons in the toolbar would change depending on the block you selected.
For example when you are working in a paragraph block that shows basic formatting buttons like text alignment, bold, italic, insert link, etc.
And each block can also have its own block settings which would appear in the right column of your edit screen.

How To Organise Gutenberg Blocks In Groups And Columns In WordPress
You can select multiple blocks by clicking on them while pressing the SHIFT key on your keyboard.
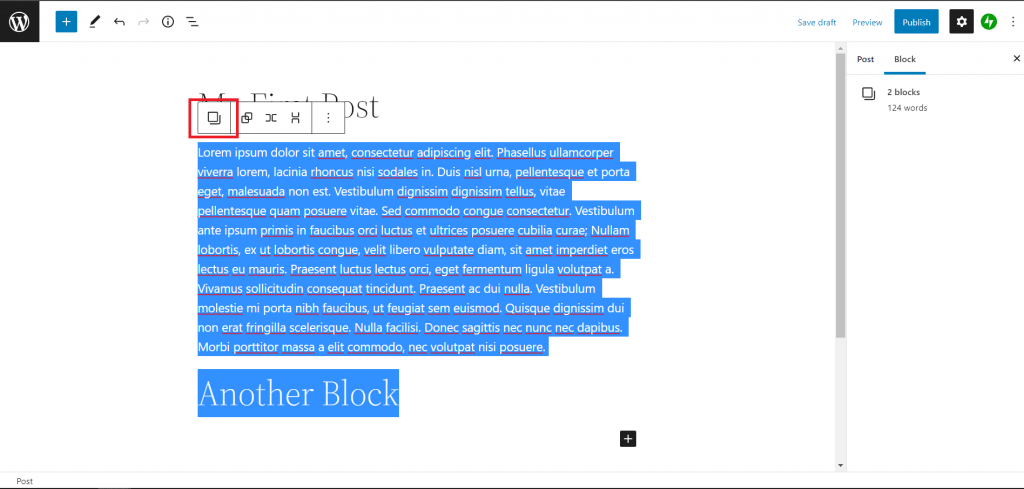

Then just click on the block type button in the toolbar to transform the selected blocks into groups or columns.
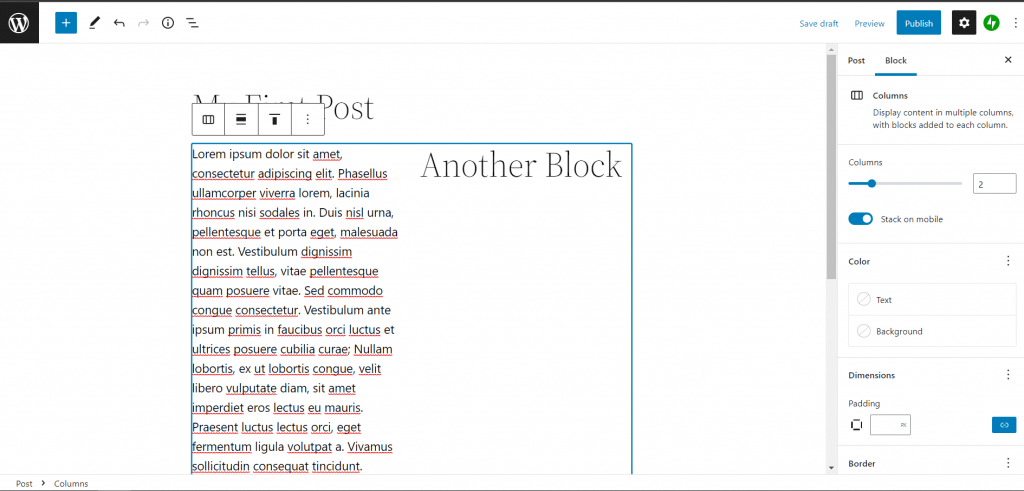
Now you can apply styles to the group block you have created. For example, change their alignment or spacing.
The block editor also allows you to add an empty Group or Column block. After that, you can fill them with other blocks.
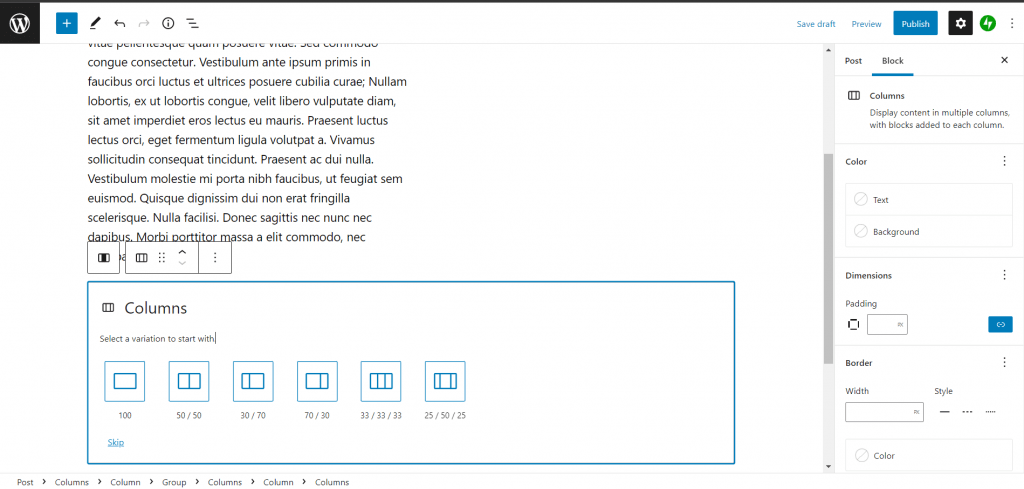
Fill in each column with any type of block to create beautiful layouts.
How To Save And Reuse Blocks In Gutenberg Editor In WordPress
Another amazing thing about blocks is that they can be saved and reused. This is very helpful for websites where you need to add specific content snippets to the articles or pages frequently.
To do that simply click on the menu button at the right corner of each block’s toolbar and select the Add to Reusable Blocks option.

Then give a name for your reusable block so that you can identify and reuse it later.
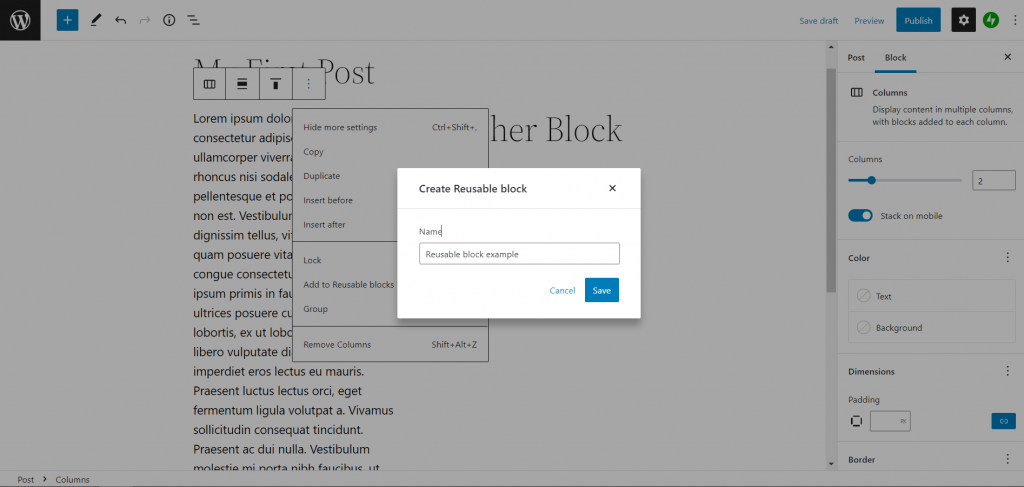
After that click Save.
Not when you have saved a reusable block, let’s look at how you can add that reusable block to other WordPress posts and pages.
Simply edit the post or page where you want to add the reusable block. From the post-edit screen, click on the add block button.
You will find your saved block when you click on the + icon to add a new block. You can also find it by typing its name in the search bar.
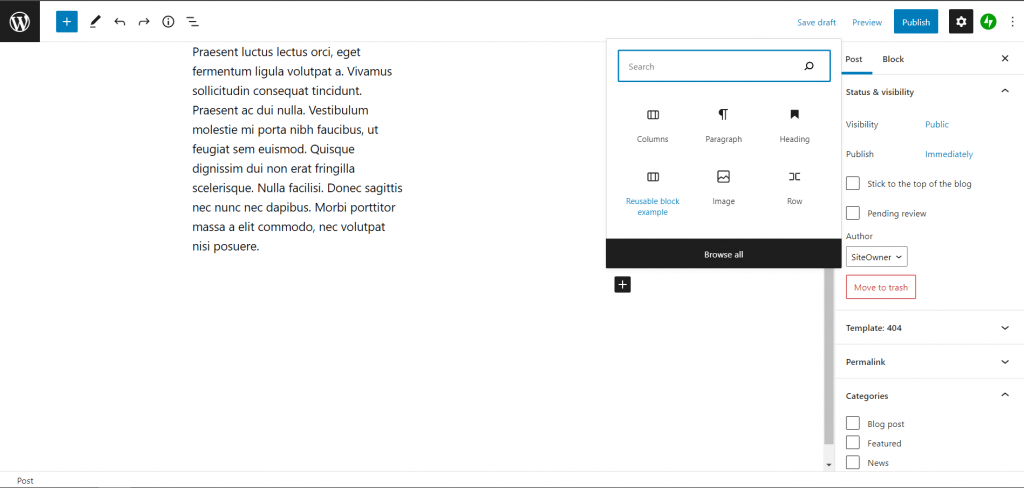
Hover your cursor over it to see a preview of the block. Then simply click on the block to insert it into your post or page.
How To Add Some Commonly Used Blocks In Gutenberg Editor In WordPress
As you probably understand this editor does everything possible to do with an old one, but more efficiently.
How To Add An Image In The Gutenberg Editor In WordPress
Simply add the block and then upload an image file or select from the media library.
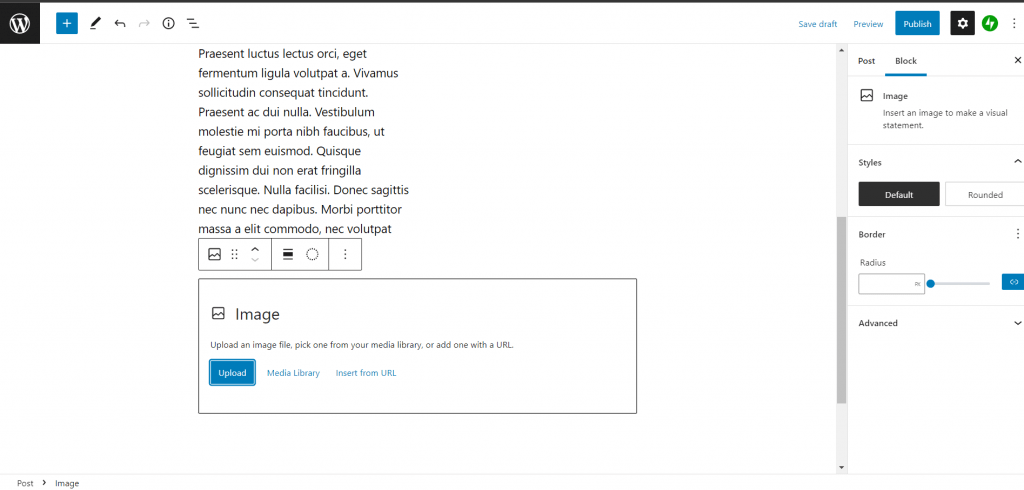
Or you can drag and drop images from your computer, and the editor will automatically create an image block for it.
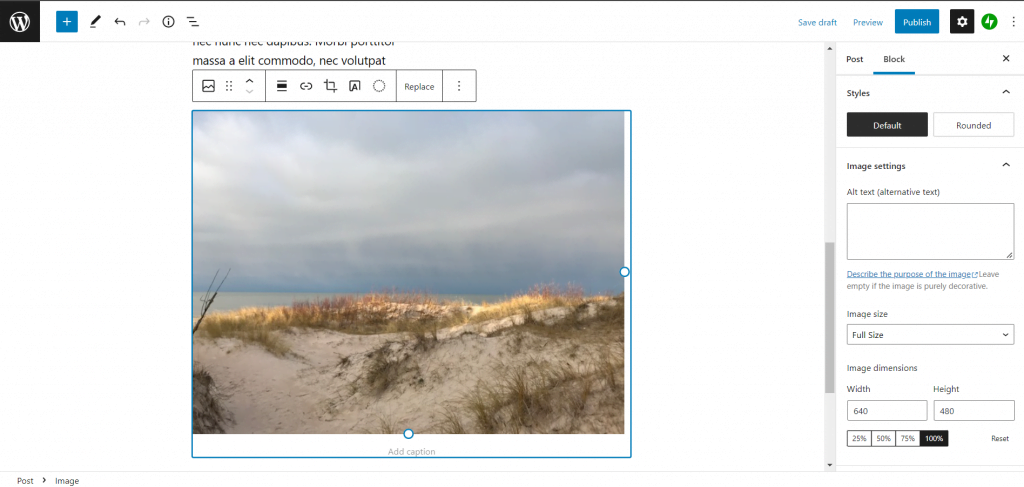
Let’s say that have added an image, you will be able to see the block settings where you can add metadata for the image like alt text, size, add a link to the image, etc.
How To Add Link In The Gutenberg Editor In WordPress
The block editor comes with several blocks where you can add text. The most commonly used one is the paragraph block which comes with an insert link button in the toolbar.
All other commonly used text blocks also include a link button in the toolbar.

Or you can insert a link using the keyboard shortcut, which is CTRL + K on Windows And Command + K on Mac.
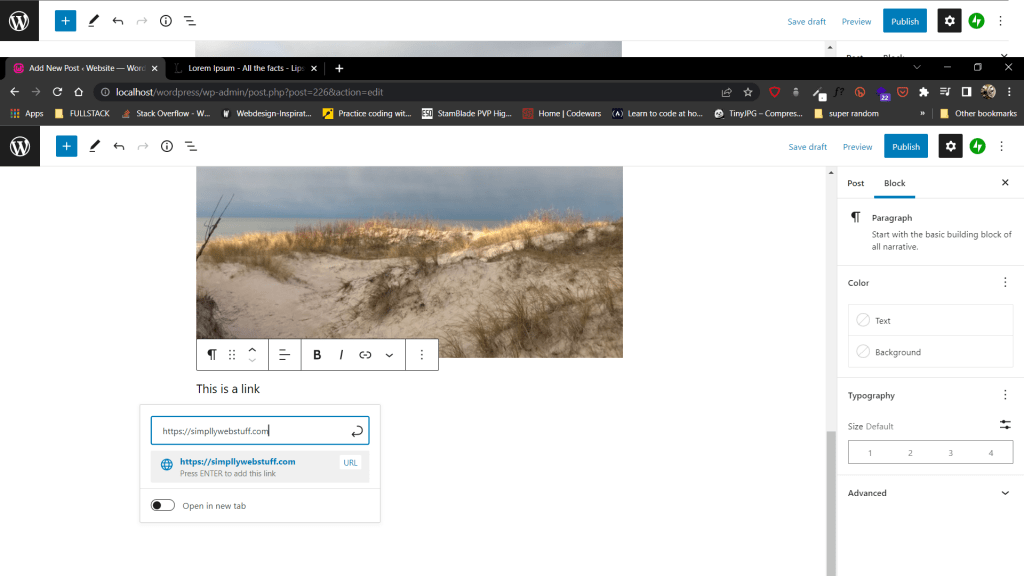
Then everything is quite simple, just type the URL and press enter. As you can see there is an additional option to allow the link to open in a new tab when someone clicks on it.
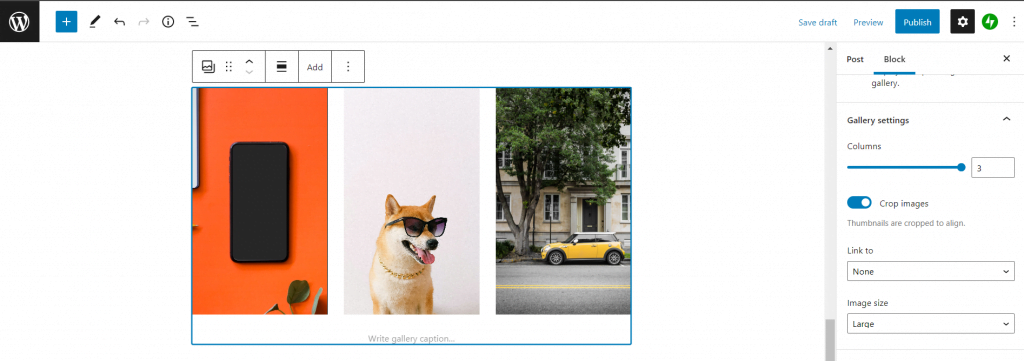
How To Add An Image Gallery In Gutenberg Editor In WordPress
The gallery block works like the image block. You add it and then upload or select image files.
How To Add An Image Next To Some Text In Gutenberg Editor In WordPress
You can do this now with the Media & Text block.
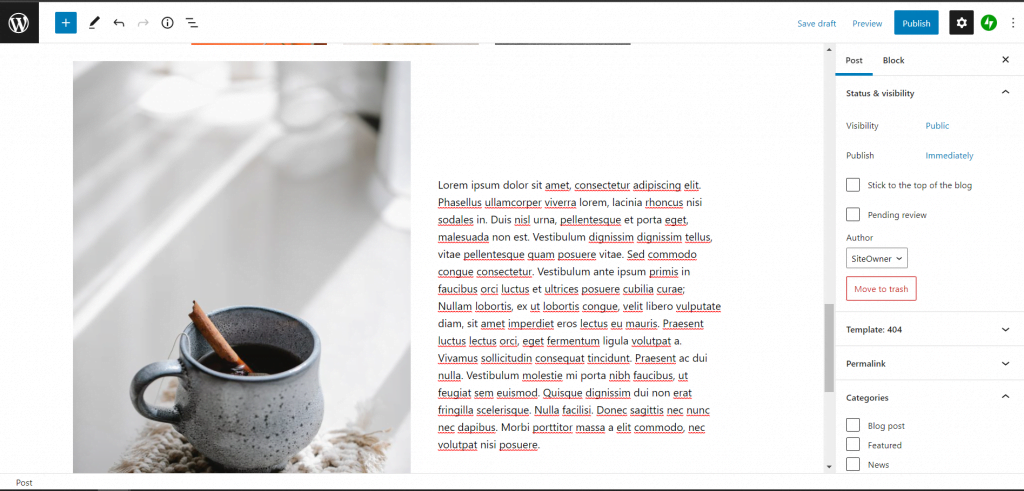
With this block, you will get two blocks placed side-by-side allowing you to easily add an image with some text next to it.
How To Add A Button In Guttenberg Editor In WordPress
Gutenberg has a Buttons block that allows you to add a button to any post or page.
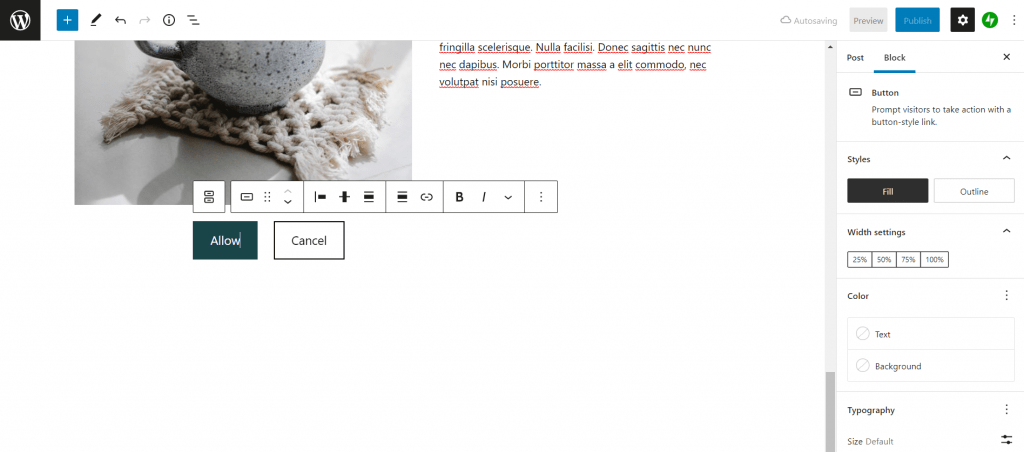
You can add a link for your button, change colors, etc.
How To Create Tables In Gutenberg Editor In WordPress
The Gutenberg editor comes with a Table block, which makes it super simple to add tables to your posts and pages.
Simply add the block and then select the number of columns and rows you want to insert.
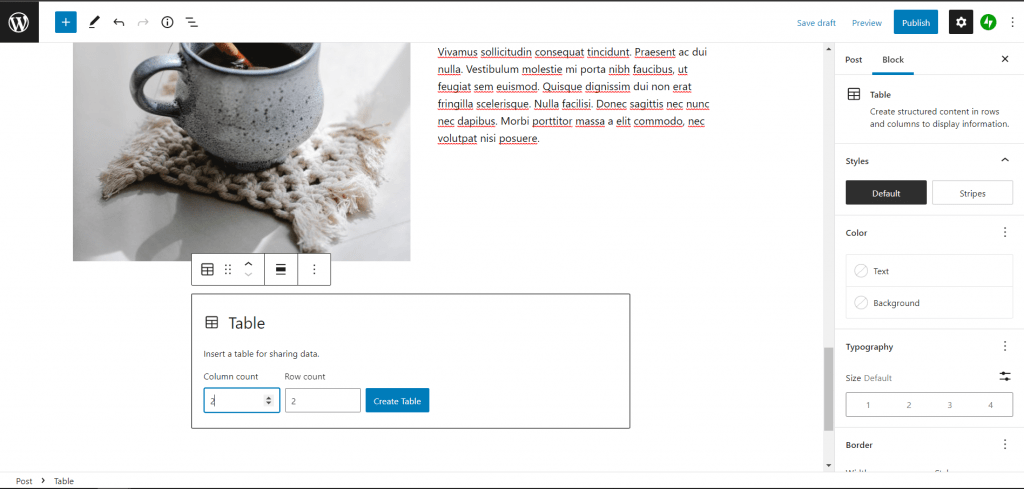
Simply select several columns and rows and now you can start adding data to the table. You can always add more rows and columns if needed. Also, there are basic style options available.
How To Publish Posts And Pages In Gutenberg Editor In WordPress
Keep in mind that WordPress post contains a lot of metadata like publish date, categories and tags, featured images, and more.
Here are the few other options present in the Publish section.
- Save Draft – It saves the post as a draft.
- Preview – You can preview your post before publishing.
- Move to Trash – Deletes the post.
- Status – Change the status of your post to Published, Pending, or Reviewer Draft.
- Visibility – Change the visibility of the post to Public, Private, or Password protected.
- Published – Change the published post date and time.

All these options are placed in the right column on the editor screen. Make sure to fill everything in. And when you are happy with your post simply click Publish.