What’s New In Canva 2023
Posted by TotalDC
In today’s visually-driven world, captivating graphics play a pivotal role in catching the audience’s attention and conveying powerful messages. This is where Canva steps in as a game-changer. In this article, I will present to you what’s new in Canva 2023.
What Is Canva
Canva is a graphic design tool that makes digital design work much more manageable. You can use Canva in your browser or download an app from App Store if you are using Apple or Google Play if you prefer Android.
Canva offers a wide range of templates and design elements, such as images, icons, and fonts, which can be easily customized according to your project needs, and various features to help you create stunning designs.
What’s New In Canva 2023?
Canva introduced amazing features that elevate the design experience for anyone passionate about creating visually stunning content. These new additions offer an array of tools and options, enabling you to bring your ideas to life.
Gradient
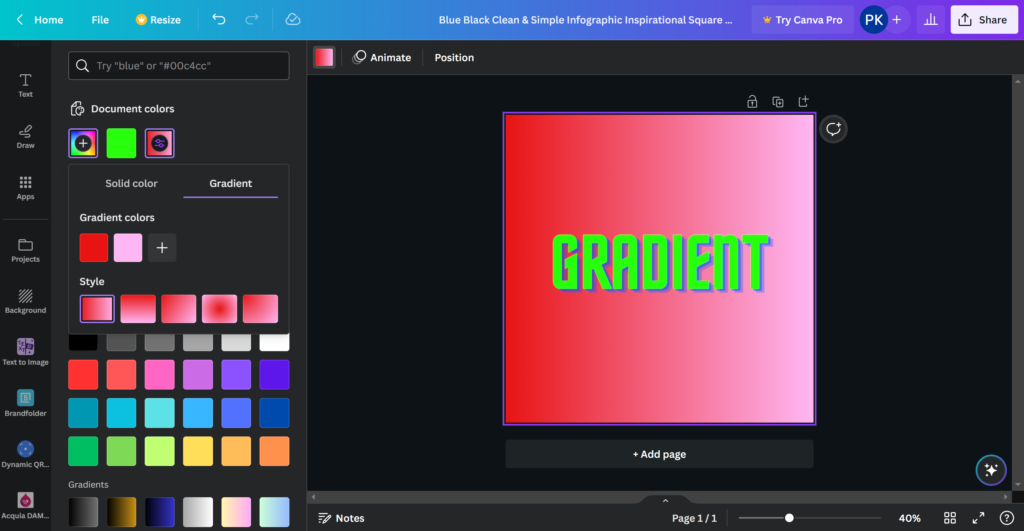
The first new feature in Canva in 2023 is gradients. Yes, gradients, now you can give your design more depth with the help of gradients. Gradients can be added to the background and shapes, not text. At least not yet.
If you want to add gradients in Canva 2023 you have to select a background or shape on your design, then go to the color option at the top menu bar, and press + icon to add a new color. When you do that, you will see the Gradient option appear. You will be able to choose from whatever colors you like plus a style of a gradient from five options. Apart from this, now you also have some pre-set gradients that you can customize for your design as per your preference.
Layout Guides
In 2023 Canva you can have more control over the guides in your Designs. You can either add your own guides or choose from a pre-set layout guide. And you finally got an option to lock guides.
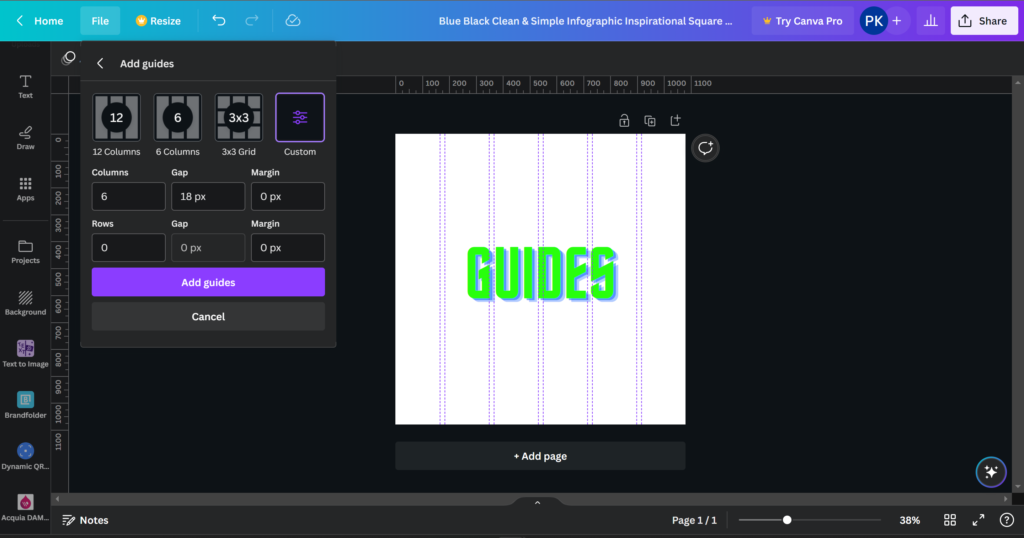
If you want to use pre-set layout guide, you have to go to File and press View Settings.
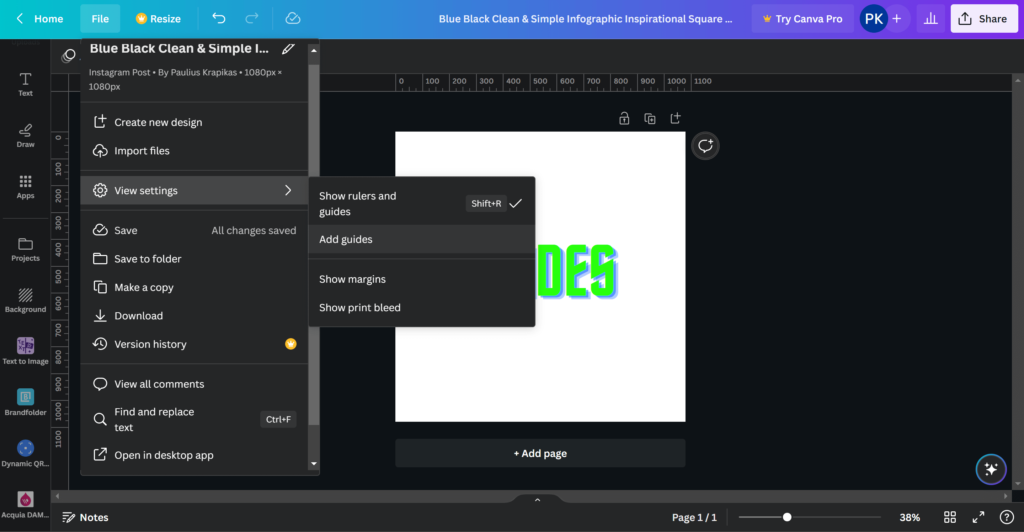
Then select the option Add guides and choose any pre-set or custom layout guide.
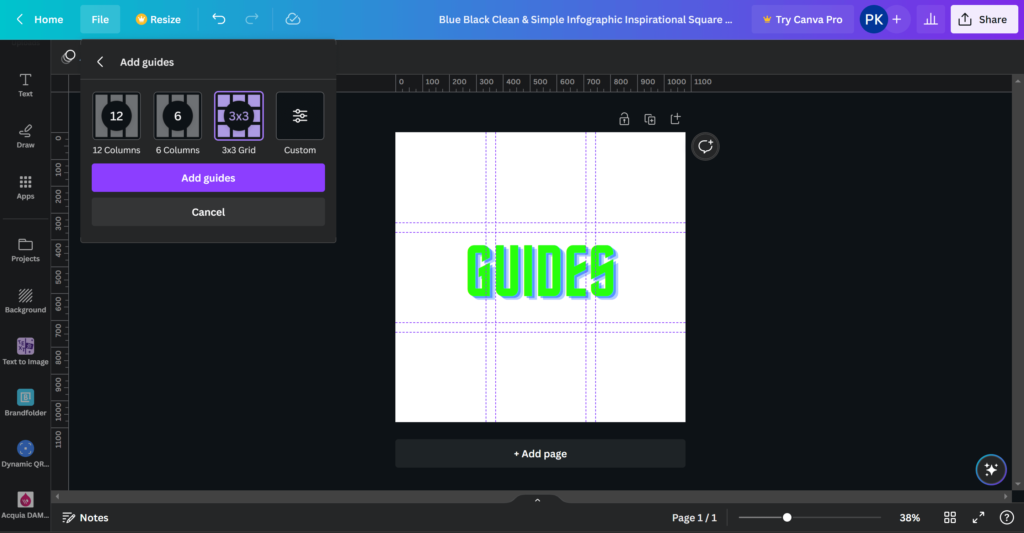
In the custom layout guide, you have the option to choose a gap margin and gap values.
Another way to add guides is to right-click on the artboard and select the option #guides.
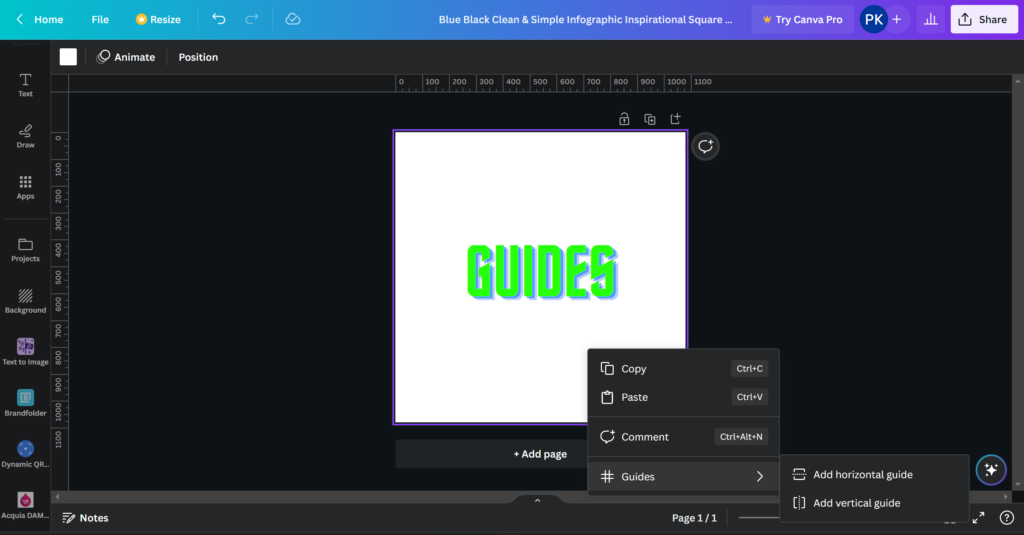
There you can add a horizontal or vertical guide and move it as you like.
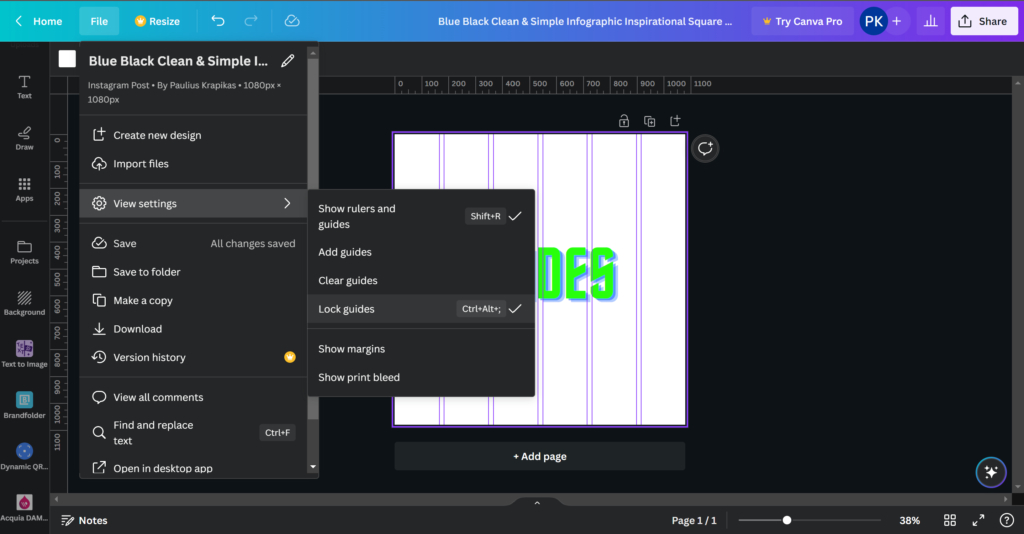
To lock guides in Canva you need to either press Ctrl+Alt or right-click on the design and select #guides -> Lock guides, alternatively, you can find the same option in the View Settings.
Layers
This is perhaps one of the most awaited features in Canva and probably my favorite. Users are finally able to navigate between the layers and have more control over them. This feature definitely makes working in Canva so much easier.
To use layers in Canva you need to select the object and click on the 3 dots icon or right-click on it and select Show Layers.
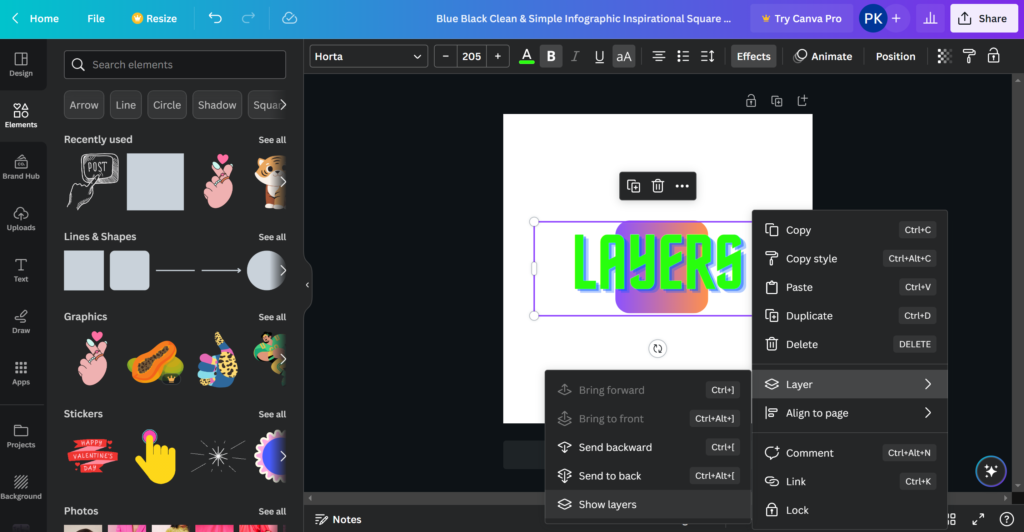
There you can select any layer and move it as you like. You can do that by clicking on the 6 dots icon and dragging the layer up or down.
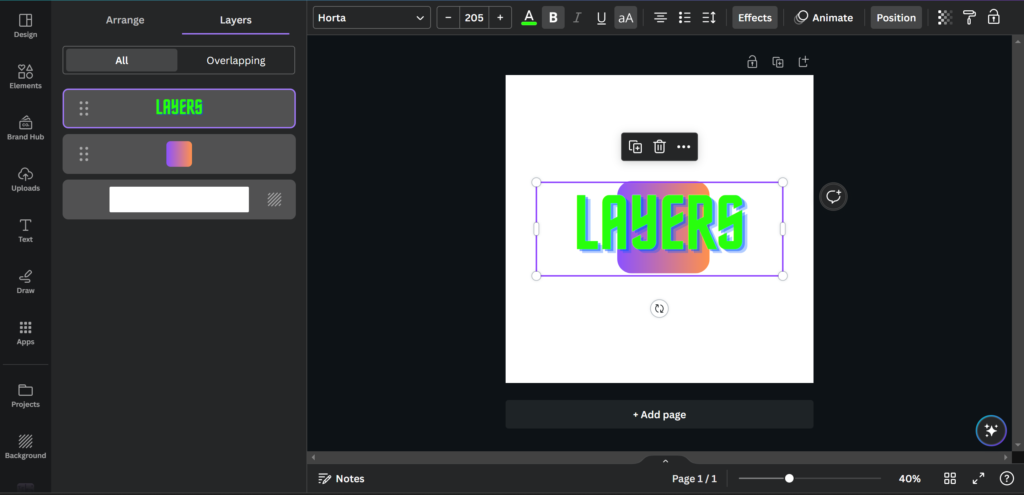
there are other options as well, just select any layer and click on the 3 dots icon, and you will find a menu of options to work on the selected layer.
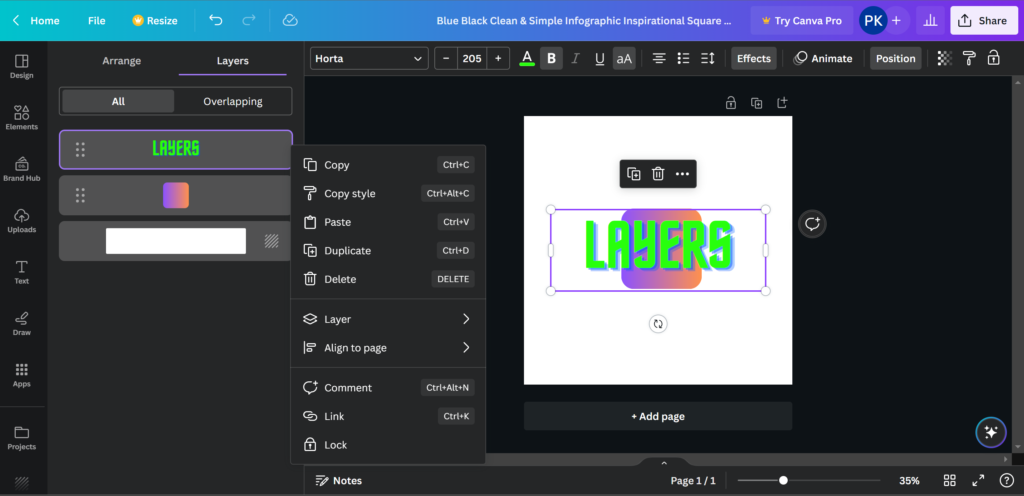
Text Outline Effect
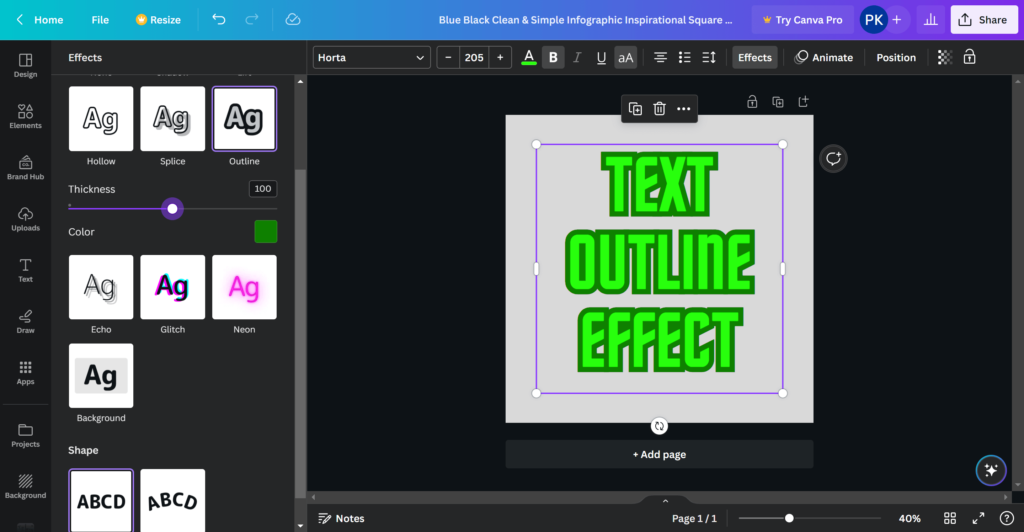
Now you can outline text in Canva with just 1 click using this feature. How you can do it?
To add text outline in Canva 2023 with Text Outline Effect you need to select the text you want to work on and go to the Effects tab in the top menu. Then choose Outline from the styles menu. Finally, you need to select the outline color and thickness you want.
Seamlessly Import Different File Formats
You can now import files in different formats like Word, Google Docs, Powerpoint, Photoshop, Illustrator, and PDF, and transform them into editable Canva designs.
Brand Hub
Brand Hub is a bundle of products. It consists of Brand Kit, Brand Templates, and Brand Controls.
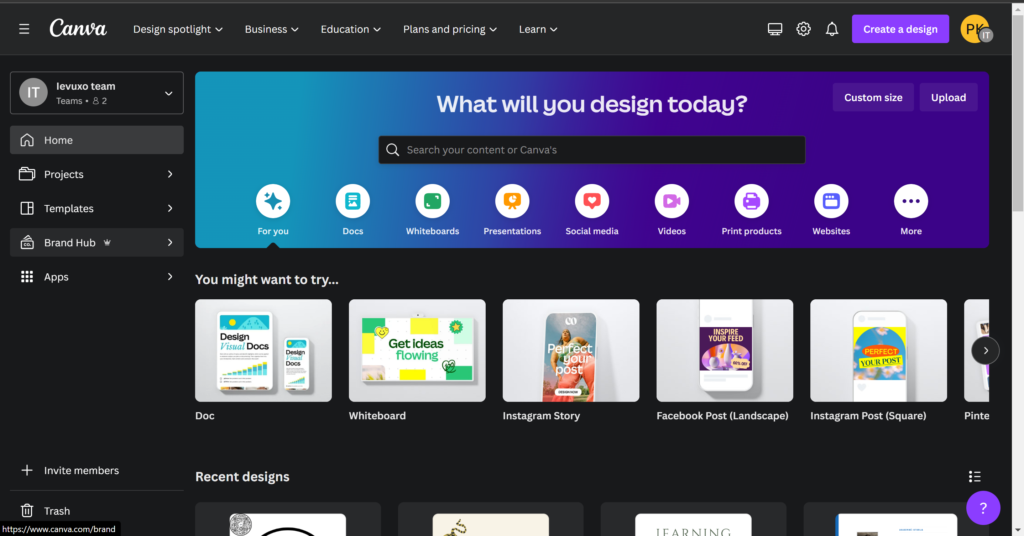
Now you can find Brand Kit inside of Brand Hub. The updated version of the brand kit offers more functions and controls to help you to stay consistent in your branding.
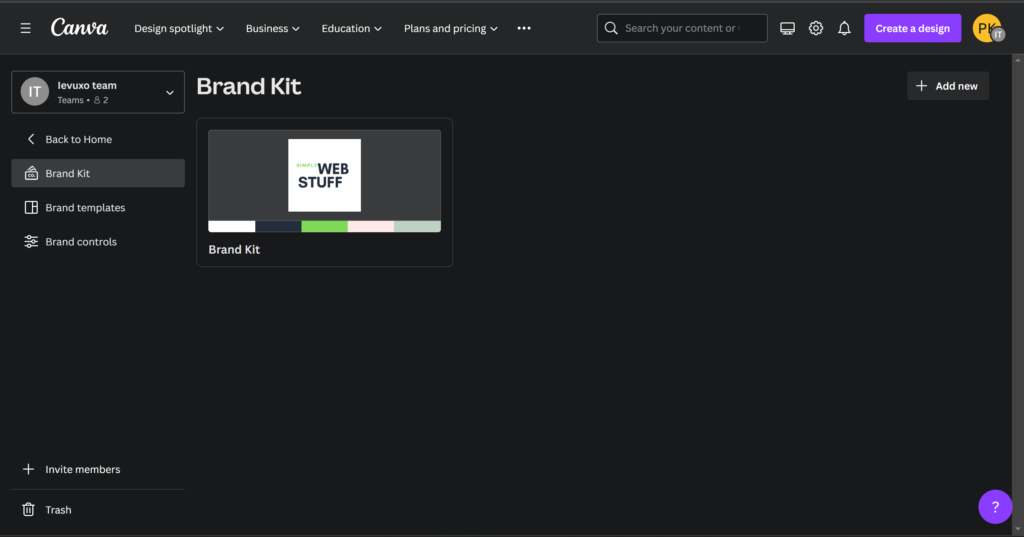
The Brand kit is available in the editor as well to everyone on your team. Plus, you can add guidelines as well in the brand kit elements. So, that it is easier for your team to understand the usage and is very handy while working.
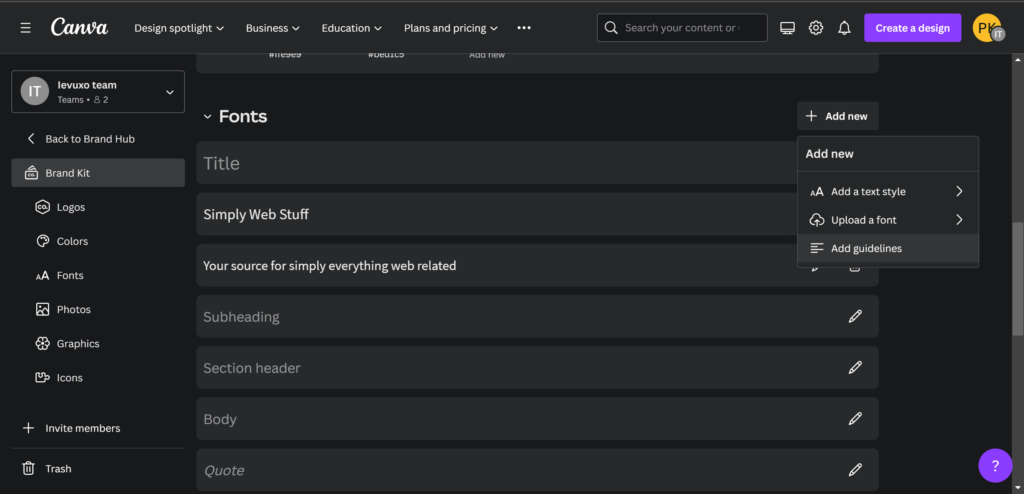
Brand Controls
With Brand Controls, team leaders are now able to set brand controls for their team.
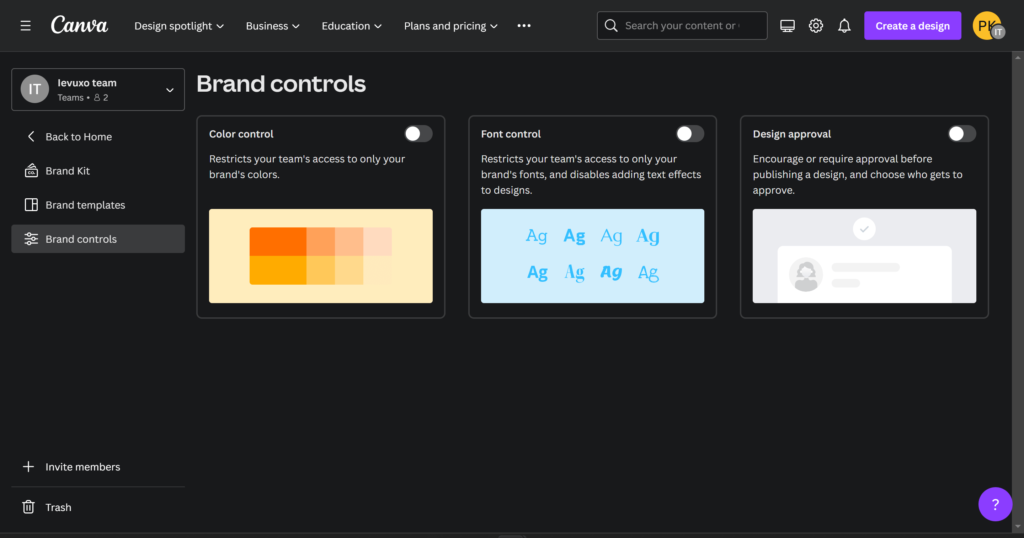
There are 3 things here in Brand Controls:
- Color Control
With Color Control, you can restrict your team’s access to only your brand’s colors.
- Font Control
With Font Control, you can restrict your team’s access to only your brand’s fonts, and disable adding any text effects to designs.
- Design Approval
With Design Approval, you can set a workflow in your team for your project by adding if the approval is required, who will be approving it, etc. Brand Controls is a great option if you work with your team.
Translate
Another feature that may be useful – translation. With this, you can translate the text into any language of your choice.
If you want to use the Translate feature in Canva you need to select the Apps option from the left panel in the editor.
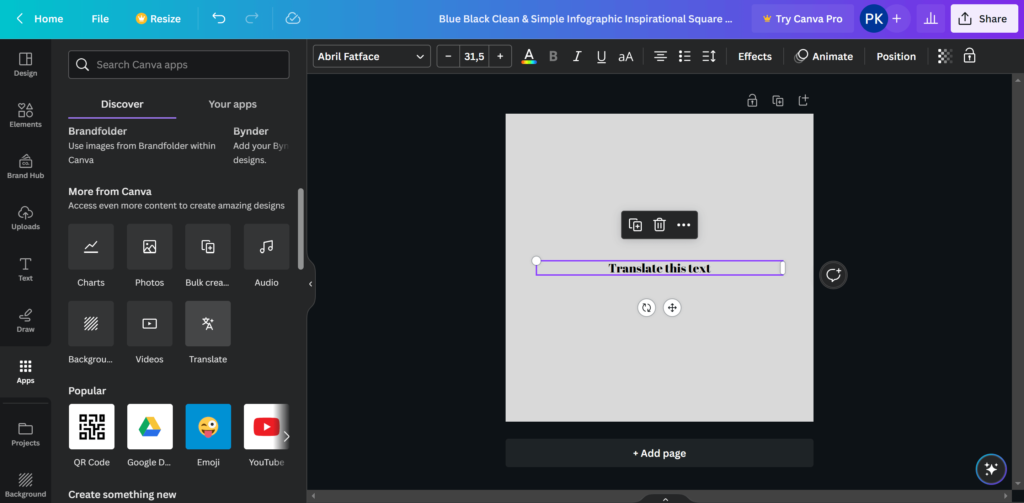
Select Translate from the More from Canva section. And then select the language and page of your choice that you would like to translate.
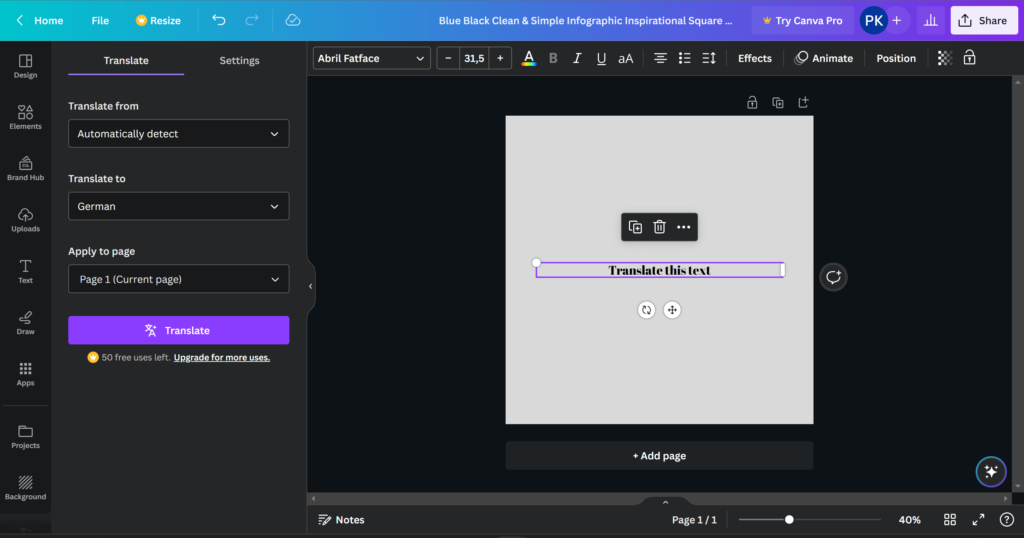
This will create a duplicate page with the translated text. Here are some additional settings.
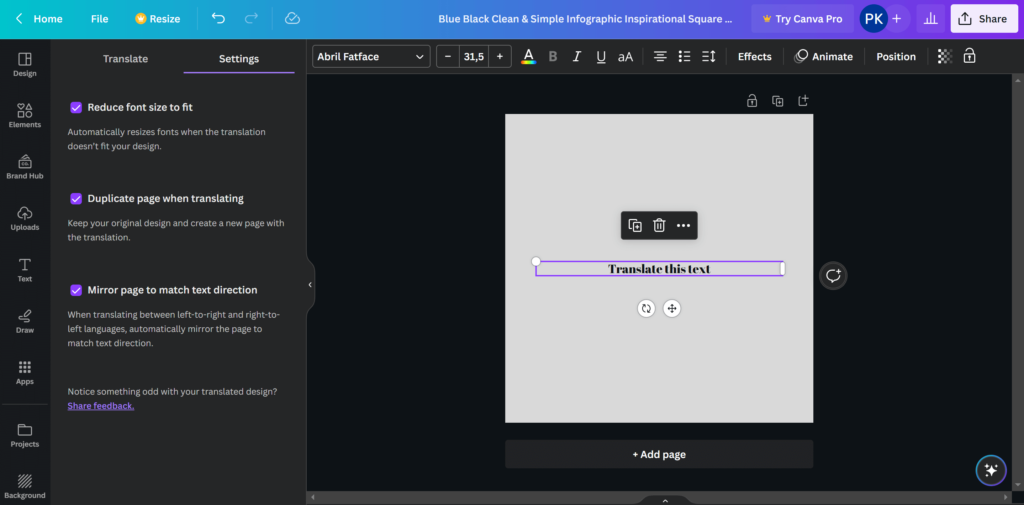
Just keep in mind that the translations are not 100% correct all the time because this is an AI-based tool. It is definitely worth trying, just don’t rely on this for your content creation or any other professional tasks.
Updated Magic Write
Previously, Magic Write was only available for Canva Docs, but now it is available across the entire visual suite – like presentations, social media posts, websites, whiteboards, and more. Magic Write is available in 18 different languages.
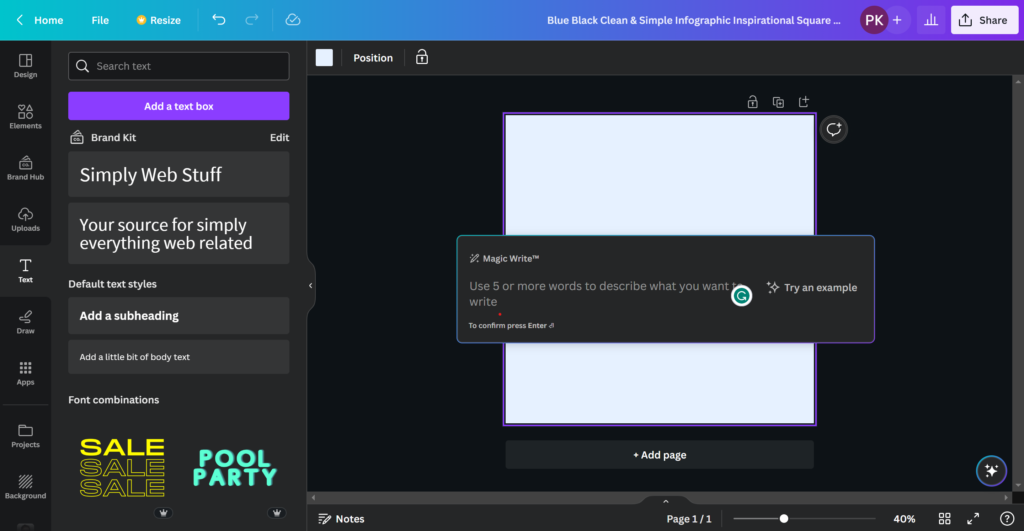
To start using the Magic Write feature in Canva you need to open the design document, click on Canva Assistant in the bottom right corner, select Magic Write from the options and follow the popup window.
Magic Write can also help you come up with attention-grabbing headlines, captions, and taglines for your blog articles, social media posts, or ad campaigns.
Magic Edit
Magic edit is another AI-based feature that lets you edit or even swap out the element from an Image. Just use the brush to highlight the image, and describe what you want to generate in place of the selected area.
To use the Magic edit function in Canva you need to select an image and go to the Edit Photo option in the top menu, then select the Magic Edit option from the tools section on the left side of your screen.
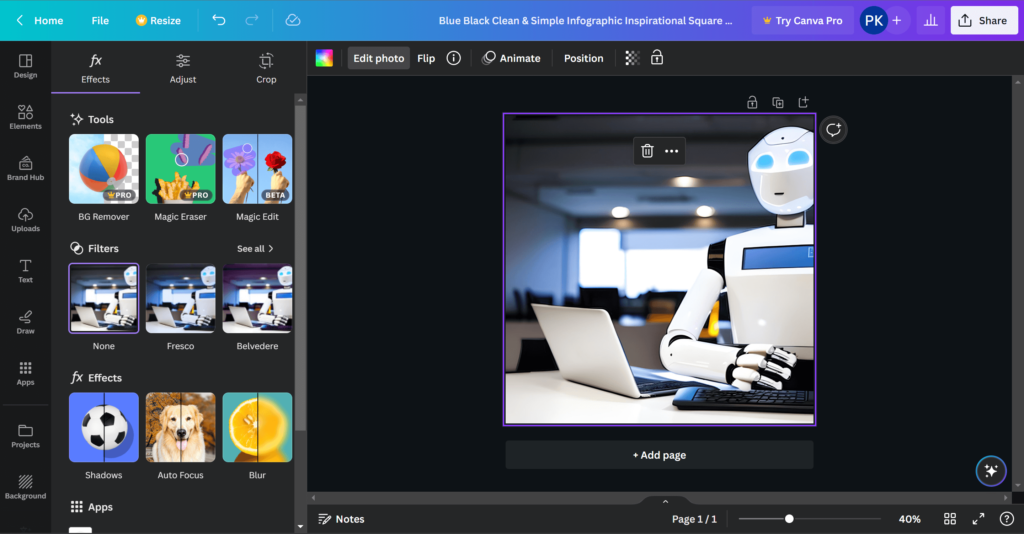
Then use the brush to highlight the area of the image that you want to remove or edit.
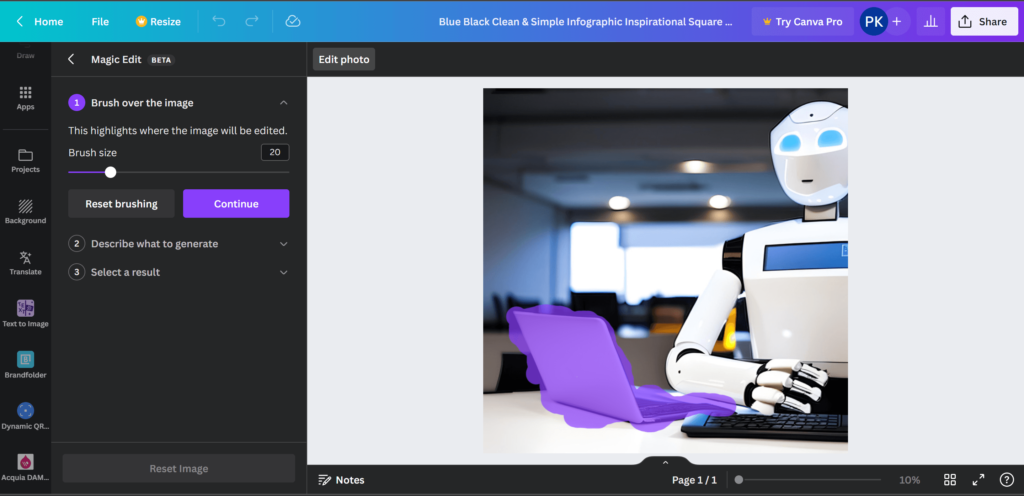
Then click on Continue and describe what you want to generate in that area. Then select from the results or generate new images if you are not satisfied with the current results and then simply press Done.
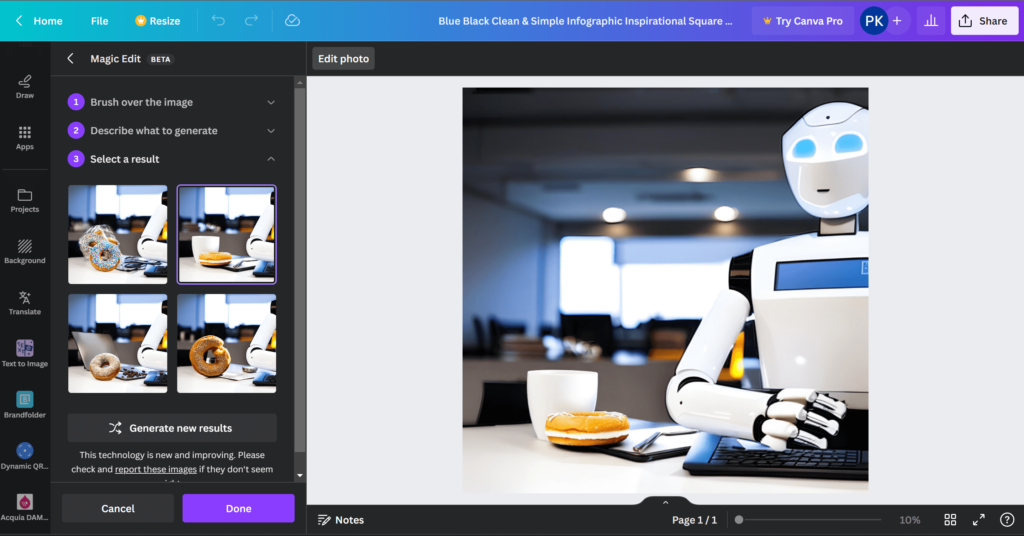
But keep in mind that Magic Edit cannot be used with Background Remover, Magic Eraser, or Autofocus on the same image.
New Animations
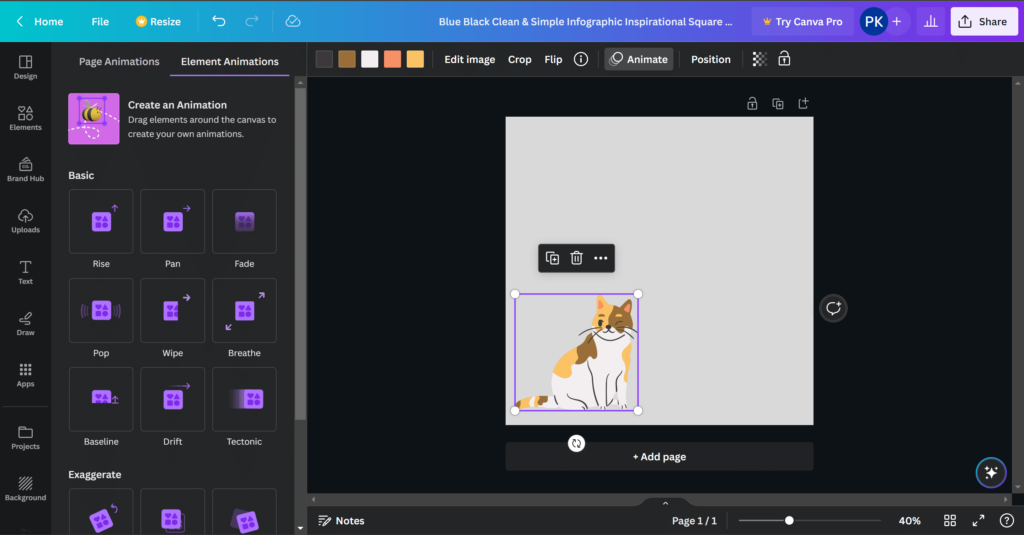
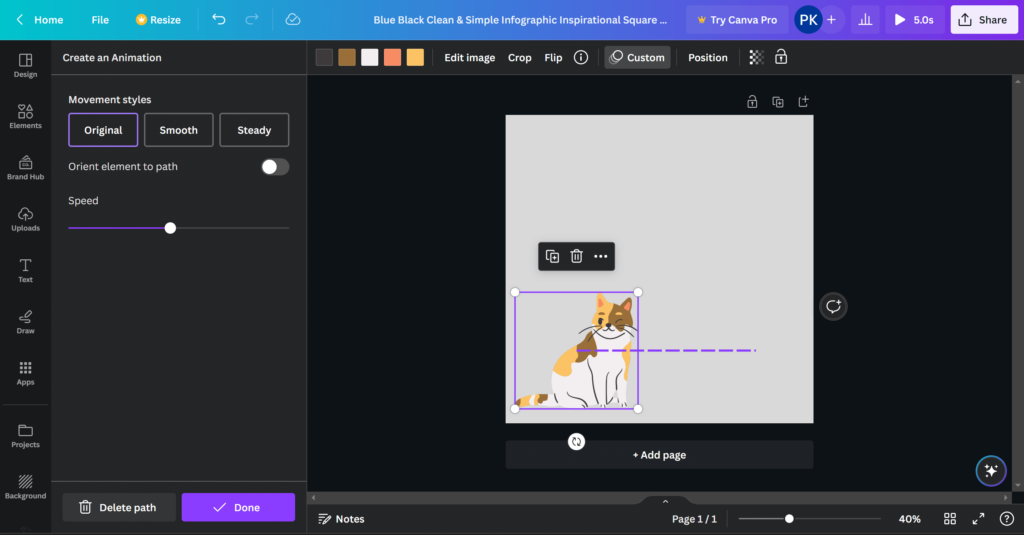
Another feature you may be interested in is Create an Animation. With Create an Animation, you just select the element and draw the path. For example, select and drag an element around the canvas to create an animation.
To create an animation in Canva – hold shift while dragging to create straight lines. You control the speed of the animation by moving the element faster or slower. When you are ready to complete the animation simply stop dragging the selected element.
Text To Image
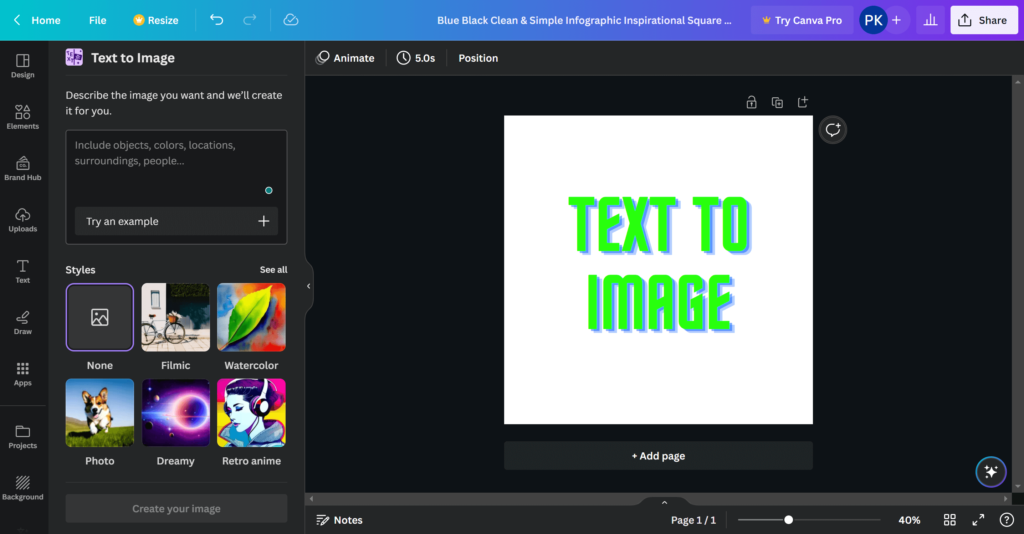
Well, this feature is not exactly new, but rather an updated more evolved version. The images generated are of higher quality, the resolution is improved, and the time taken for the process is reduced by around 68%. Plus, there are some additional styles which makes it even more interesting.
Advanced Positioning
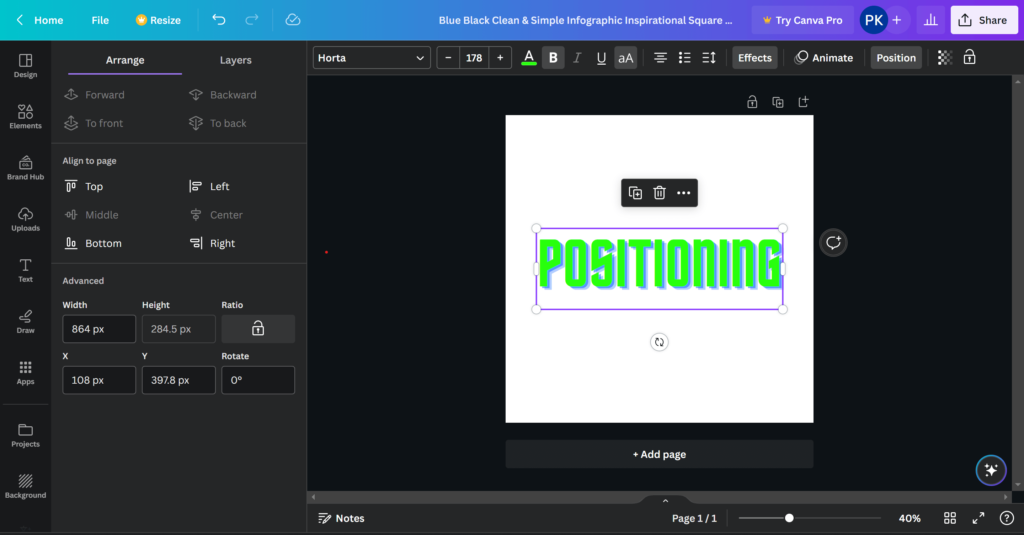
You now have some advanced options in the Position panel like setting the width, height, rotate angle, etc.
Magic Eraser
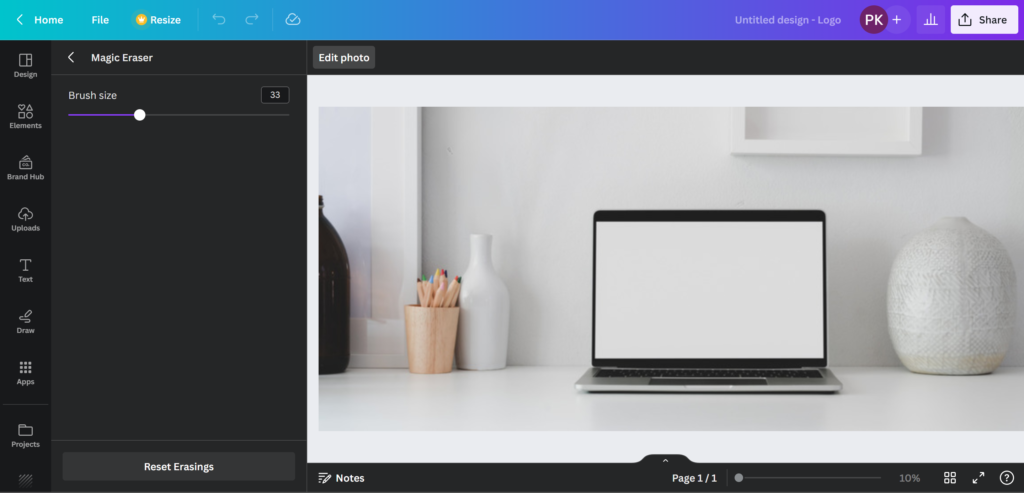
With Magic Eraser you can remove selected parts in your photo automatically with a single click. Simply highlight the part of the image you wish to erase, and it will erase the selected area.
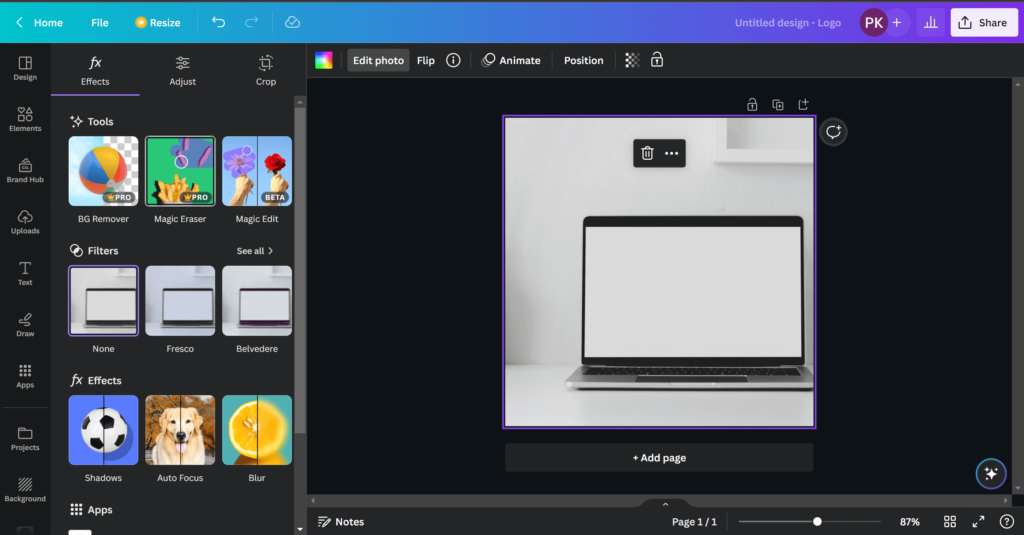
Select an image and go to the Edit Photo option in the top menu, select the Magic Eraser option, and mark the area you want to delete.
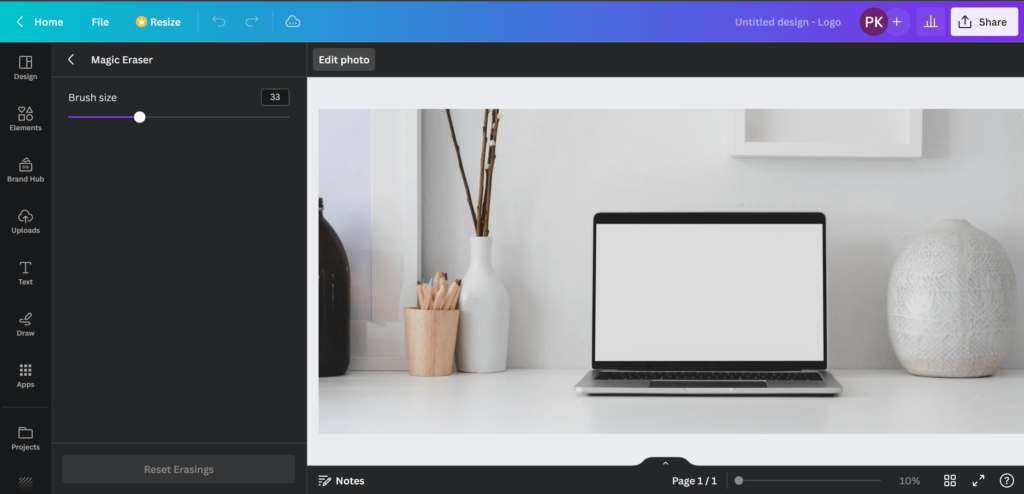
And here is the result:
Template Assistant
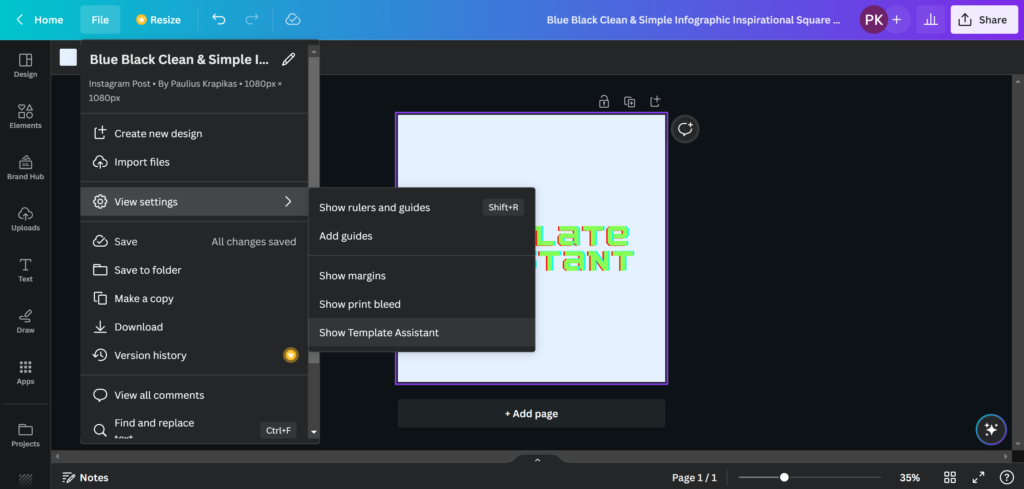
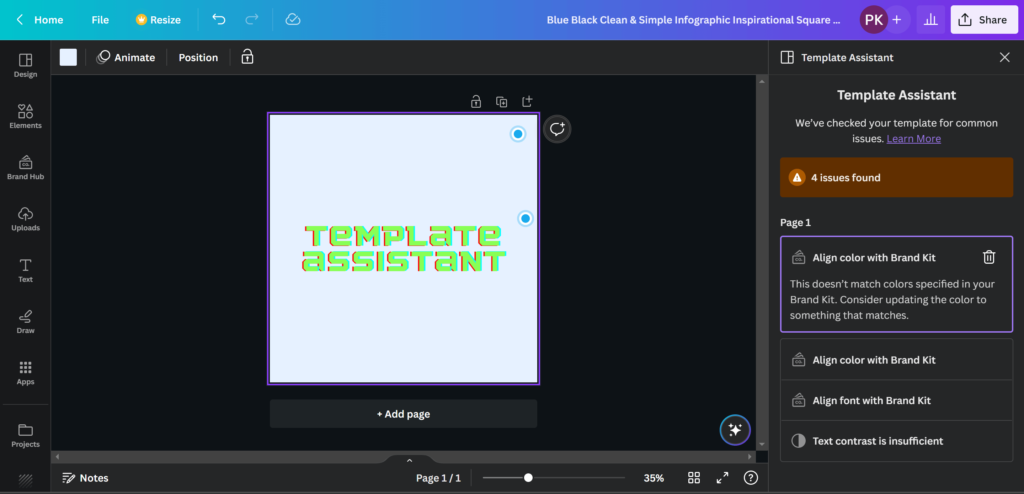
The Template Assistant inspects your template for issues such as color alignment with the brand kit, text styles, contrast issues, and so on to ensure that it is simple to use and on-brand. To open Template Assistant – click File, then View Settings, and finally Show Template Assistant.
