HTML Tutorial Part 2. How To Create Your First HTML Website
Posted by TotalDC
In part 1 I explained how to declare an HTML document and I explained how HTML was built up using tags. Now let’s create your first HTML website.
Below is the HTML you added in the last part.
<!DOCTYPE html>
<html lang="en">
<head>
  <title>Document</title>
</head>
<body>

</body>
</html>
For this section of the tutorial, I will show you how to create a simple homepage.
<!DOCTYPE html>
<html>
<head>
 <title>My First Webpage</title>
</head>
<body>

<p>Hello World!</p>
</body>
</html>
This is the skeleton code of an HTML file. Now let’s walk through this and understand what’s going on.
- As we talked about in the HTML tutorial part 1 <!DOCTYPE html> is the very first line which will tell the browser that this is an HTML5 document.
- The <head></head> section is going to contain all the metadata as well as the title tag which defines the title of your website.
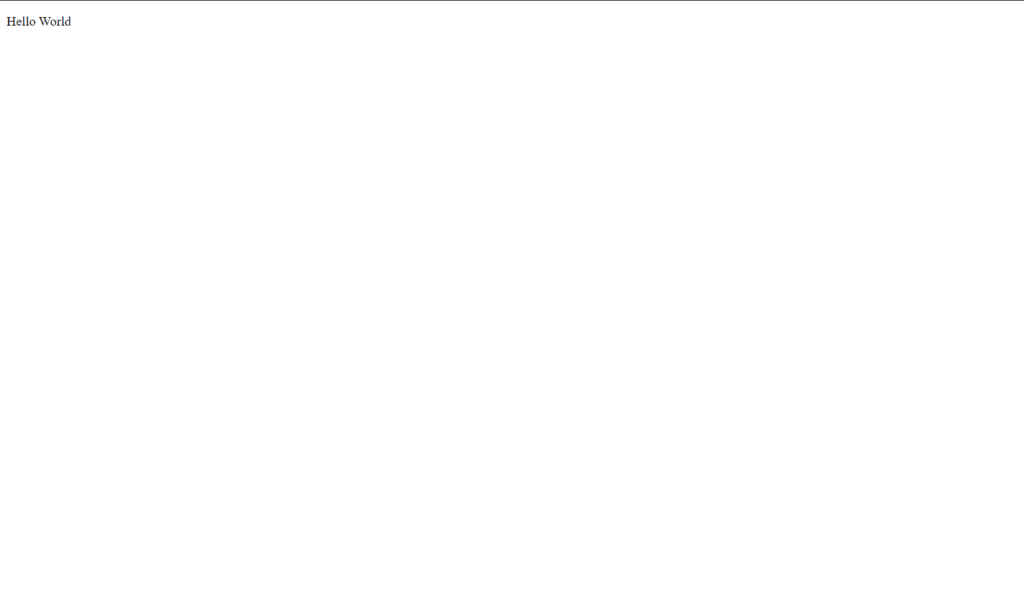
- The <body></body> section contains the content that will be visible on your browser’s screen. For now, I just added “Hello World” with <p></p> tag which is used for creating a paragraph.
Now if you save this file with the .html extension and open it you will see something like this.
Paragraphs and headings in HTML
<!DOCTYPE html>
<html>
<head>
 <title>Headings</title>
</head>
<body>
    <h1>This is heading 1</h1>
    <h2>This is heading 2</h2>
    <h3>This is heading 3</h3>
    <h4>This is heading 4</h4>
    <h5>This is heading 5</h5>
    <h6>This is heading 6</h6>
 <p>This is a paragraph</p>
</body>
</html>
In this code, I’ve defined six headings and a paragraph.
<h1>to<h6>: The H1 tag is used for the largest heading size and the H6 tag is used for the smallest heading size. Such hierarchy for heading sizes is as follows:- h1 > h2 > h3 > h4 > h5 > h6
- The text enclosed within heading tags will be bold.
<p>:<p>tag is used to define a paragraph in HTML.
You can copy or type the code above to your code editor and save it. The result in your browser will be like this.

Text styling in HTML
Various stylings can be applied to text or content in HTML like Bold, Italics, and Underlining.
- Bold: Bold effect can be applied by <b> or <strong> tag.
- Underline: The underline effect can be applied by <u> tag.
- Italics: Italics can be applied by <i> or <em> tag.
- <sup> tag is used to make a superscript effect.
- <sub> tag is used to make a subscript effect.
- <mark> tag is used to highlight the text.
Lists in HTML
There are two types of lists in HTM – ordered lists and unordered lists. Ordered lists are lists that start with numbers and are in a sequential position. Unordered lists start with bullets and are not in a sequential position.
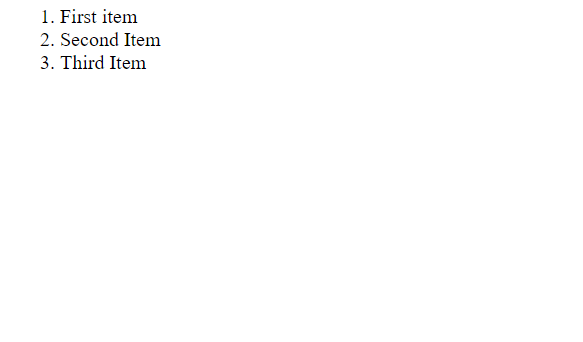
Ordered Lists: Ordered lists can be created with <ol></ol> tag. To add list items to the lists <li></li> tag is used.
<html>
<head>
    <title>Lists</title>
</head>
<body>
  <ol>
    <li>First item</li>
    <li>Second Item</li>
    <li>Third Item</li>
  </ol>
</body>
</html>
The result of this code will be –
Unordered Lists: Unordered lists can be created with <ul></ul> tag. And <li></li> tag is used to add list items.
<html>
<head>
    <title>Lists</title>
</head>
<body>
  <ul>
    <li>First item</li>
    <li>Second Item</li>
    <li>Third Item</li>
  </ul>
</body>
</html>
The result of this code will be –

HTML Attributes
Attributes allow us to add more information to HTML tags. They define how the element should behave.
Common attribute examples:
<img src="path.png">. Here in this tag src is the attribute that defines the source of the image from where it is displayed.<a href="https://google.com">. In this anchor tag href is the attribute that contains the path to another HTML file or a URL<p style="color: red;">. In this paragraph tag, the style attribute is used to add CSS properties to the element.
Images and hyperlinks in HTML
Images can be added to HTML documents by using the <img> tag. The image path must be provided in the src attribute. But if no image is found or the image path is broken then the alt attribute is displayed.
<!DOCTYPE html>
<html>
<head>
<title>Images</title>
</head>
<body>
<!DOCTYPE html>
<html>
<head>
  <title>Images</title>
</head>
<body>
  <img src="./dog..jpg" alt="dog image">
</body>
</html>
The output of the code above will be:
Hyperlinks
Hyperlinks are used to reference an external HTML document or webpage. Hyperlinks can be added with <a></a> tag.
<a href="another_page.html">Click Here</a>Links can be styled by using CSS and manipulated with JavaScript but about that later.
Summary
In this article, we talked about some of the most basic HTML elements. By now you should be able to create very simple HTML documents.