How To Use WordPress Gutenberg Reusable Blocks
Posted by TotalDC
In this article we will learn how to use WordPress Gutenberg Reusable blocks so you can write posts faster and easier, that way saving a lot of time.
We already talked about how to create and edit posts in WordPress using Gutenberg editor, but now I will show you some tips and tricks on how to do it much easier.
How To Create Singular Reusable Blocks In Gutenberg Editor In WordPress
Let’s say you have some sort of fancy block with a different background color, you change text color all the time and maybe there is some bold text in there as well and you frequently add this block to your blog posts.

As you can see this requires more than a few steps just to create one text block.
With Gutenberg editor, it is super simple to save time. All you need to do is create the block that you want to use. After that follow these simple steps:
Click the three dots icon – click Add to Reusable Blocks.

Give your WordPress Gutenberg reusable block a name.

When you are done – click Save.
How To Edit Gutenberg Reusable Blocks In WordPress
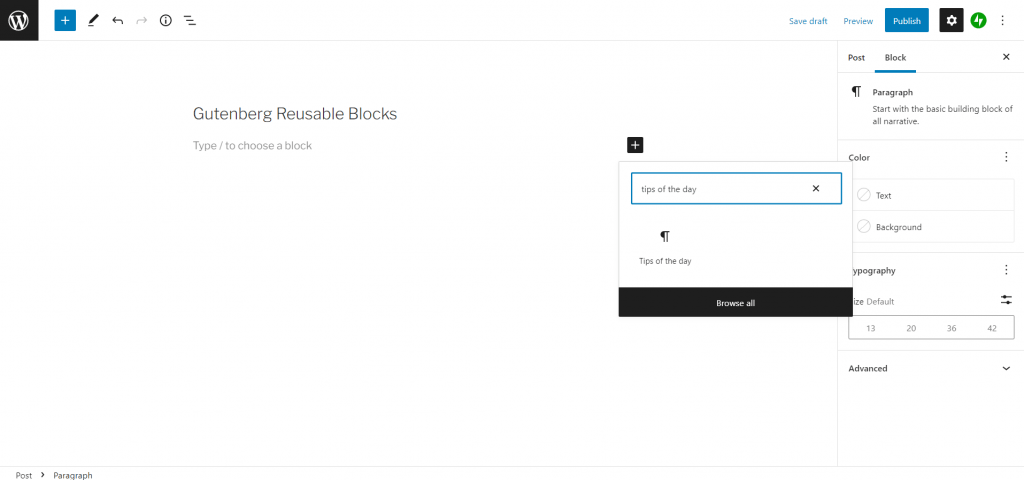
To do that you need to add the reusable block to the post or page. Here’s how you can add a reusable block to the post.
Select empty block space and press on +, then simply type the name of your reusable block.

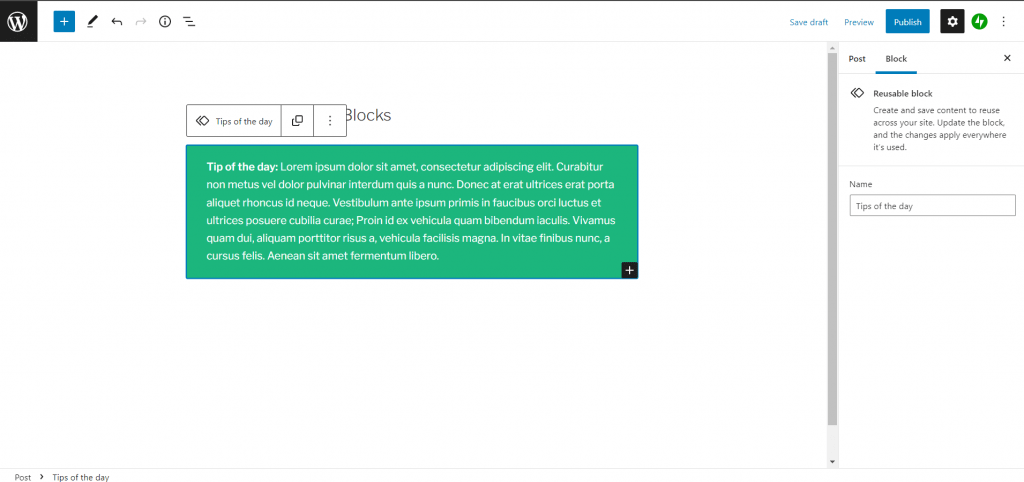
Then simply select the Gutenberg reusable block.

Now you can make any changes that you want. All changes will be saved automatically.
Keep in mind that reusable blocks work a bit differently from regular blocks. Let’s say that you use the same block on every post you write. You could create a reusable block of what you write. And reuse it on many posts with minimal clicks.
If you changed this reusable block by clicking on it and then clicking on Edit. Any changes you make will affect all copies of this reusable block. Even those on live blog posts. This can be an advantage but also a disadvantage depending on the situation. So remember this when editing reusable blocks.
But if you converted the reusable block to a regular block and then made changes it would not update the reusable block or any copies of it. The changes would only affect that specific block.
How To Group Reusable Blocks In Gutenberg Editor In WordPress
To do that, simply create the blocks as you would normally follow the steps above. Then click near the start of the first block. You can then drag to highlight all the blocks you want to combine into one new reusable block.

Once you’ve highlighted all the blocks. Click the More Options button and then click Add to Reusable Blocks.

Name the block like you would a single block and you are done. Keep in mind that you can even include reusable blocks within reusable blocks with this multi-block method.
WordPress automatically updates both singular and multiple blocks converted into reusable blocks. So even if you edited a reusable block that’s within another reusable block. It will still get updated.
If you add a multi-block reusable block to your blog post and then convert it to regular blocks. Any reusable blocks within this won’t be converted. To convert these you’ll have to click each one and then click More Options – Convert to regular block. You can avoid doing this by converting the reusable blocks before converting them into a new multi-block reusable block.


